 Save
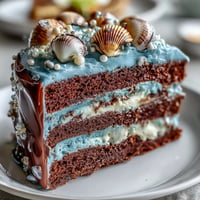
Save The gentle pop of a sparkling rosé being uncorked in my kitchen always makes me grin, but baking it into a cake felt delightfully mischievous. Who knew the subtle fruitiness would infuse such a cloud-soft crumb A few years ago, just as spring nudged the windows open, I tried my hand at this Rosé Velvet Cake and was entranced by its blush tones mingled with floral aromas. I remember pink clouds dusting the sky as I swirled in food coloring, already picturing the oohs and ahhs at the table. There's just something celebratory about a cake that sparkles inside and out.
I first made this for my cousin Emma's bridal shower, when a nervous giggle turned into a full laugh as we realized we both had frosting on our noses. I was, of course, fussing with the gold drip while my aunt tried to keep toddlers away from the cake stand, and those little imperfections only made us love it more. The kitchen was full of chatter and the faint perfume of vanilla and rosé—it felt like a real celebration before the party even began.
Ingredients
- All-purpose flour: Gives structure, sift well for a tender crumb—lumpy flour can lead to uneven layers.
- Cornstarch: Lightens the cake texture—just a tablespoon or two makes a bigger difference than you’d imagine.
- Unsweetened cocoa powder: Adds the classic velvet nuance, so don’t skip—Dutch process is nice but not essential.
- Baking soda: Helps the cake rise and balance acidity—sift it with the dry ingredients so there are no bitter pockets.
- Salt: Elevates the sweetness and flavors—use fine sea salt if you want it to blend easily.
- Unsalted butter: Adds richness and keeps things soft—let it soften completely, or you'll struggle creaming with sugar.
- Granulated sugar: Sweetens and aerates—beating it with butter until pale is worth every extra minute.
- Light brown sugar: Gives warmth and a gentle hint of molasses depth—don’t pack it too tightly or the cake gets heavy.
- Large eggs: Bind the batter and add moisture—room temperature is best to prevent curdling.
- Rosé wine: Fragrances the cake and brings subtle fruit—pick one you'd actually sip since you'll taste it.
- Buttermilk: Tenderizes and adds slight tang—let it come to room temperature with the eggs for best blending.
- Vanilla extract: Ties together the floral and cocoa notes—a good quality one enhances everything here.
- Pink gel food coloring (optional): For that dreamy blush hue—just a drop or two gives stunning color without watering down the mix.
- Cream cheese: The star of the frosting—bring it to room temperature for a silky result that’s not lumpy.
- Confectioners’ sugar: Sweetens and thickens the frosting—sift to avoid lumps and let it gently snow in.
- White chocolate chips: Form the base of your gold drip—melt them slowly to keep things smooth and glossy.
- Heavy cream: Softens the white chocolate for dripping—heat gently and never boil so it doesn’t split.
- Edible gold luster dust: Adds celebratory shimmer—use a clean brush and resist the urge to overdo it.
- Clear vodka or lemon extract: Combined with gold dust to make an edible paint—evaporates quickly for a shiny finish.
Tired of Takeout? 🥡
Get 10 meals you can make faster than delivery arrives. Seriously.
One email. No spam. Unsubscribe anytime.
Instructions
- Set things up:
- Preheat your oven to 350°F and line three cake pans—smell the anticipation as the oven hums. Grease them well and don’t skip the parchment rounds; cake deserves an easy exit.
- Prep the dry mix:
- Sift flour, cornstarch, cocoa, baking soda, and salt into a bowl—the powdery puff smells quietly chocolatey and blends for a fine crumb.
- Cream the butter and sugars:
- Beat butter with both sugars until fluffy—the mix should lighten and look whipped, like frosting in its earliest stage.
- Add the eggs and vanilla:
- Drop in eggs one at a time, mixing until glossy and unified; don’t worry if it looks a touch separated at first. Drizzle in the vanilla and let the scent fill the bowl.
- Combine the liquids:
- Stir rosé and buttermilk together in a jug; the pink swirl is both pretty and fragrant.
- Make the batter:
- Add the dry ingredients and rosé-buttermilk mixture into the butter mixture, alternating and gently folding—start and end with dry for the tenderness you want. Tint with pink food coloring if you like, aiming for a dreamy blush cloud.
- Bake your layers:
- Divide the batter among the pans, smoothing tops with a spatula. Bake for 28–32 minutes, and enjoy the subtly sweet aroma filling your kitchen; layers are done when a toothpick comes out clean.
- Cool and prepare frosting:
- Let cakes cool in their pans a bit, then tip them onto a wire rack—brave the steam release and don’t rush. Beat cream cheese with butter, then add powdered sugar, vanilla, and salt for dreamy, fluffy frosting.
- Stack and frost:
- Spread frosting between layers and around the cake, smoothing sides as best you can—even if a few crumbs sneak in, they’ll be hidden by decor. Chill for at least 30 minutes so everything sets up for decorating.
- Create the gold drip:
- Melt white chocolate chips with cream over simmering water, stirring until smooth and glossy. Cool slightly, then spoon drips around the edge so they run just right; chill again to set.
- Paint it gold:
- Mix luster dust with vodka or lemon extract and paint the drips with a truly tiny brush—little flicks add magic as you work around the top.
- Add the flourish:
- If you want extra drama, dot edible flowers or gold leaf on top just before serving—stand back and admire your handiwork.
 Save
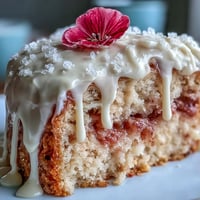
Save After slicing the very first piece, my best friend gasped at the blush crumb and confessed it looked almost too beautiful to eat. The next second, forks dove in—frosting smudges everywhere—and that’s when I realized this cake was a bit of magic at gatherings, a centerpiece that made everyone pause, laugh, and celebrate together.
Finding Your Perfect Pink
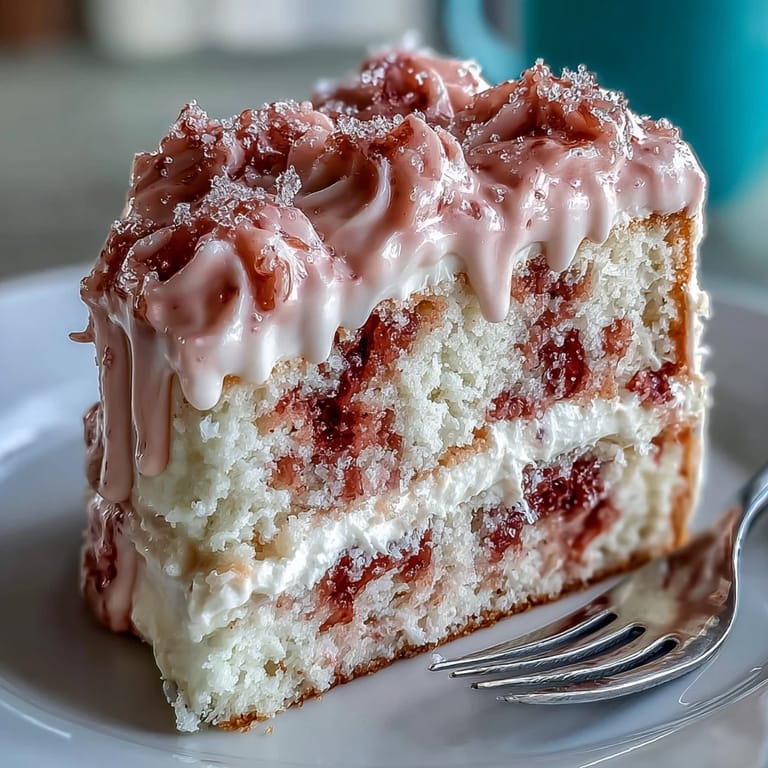
I’ve played with leaving the pink gel out for a gentle natural hue and going bold with a deeper shade, all depending on the vibe of the day. If you’re hosting a playful shower, lean brighter; for an evening soiree, a subtler tint feels fancy in a different way. Don’t stress—every blush is stunning in its own right.
How to Make the Gold Really Pop
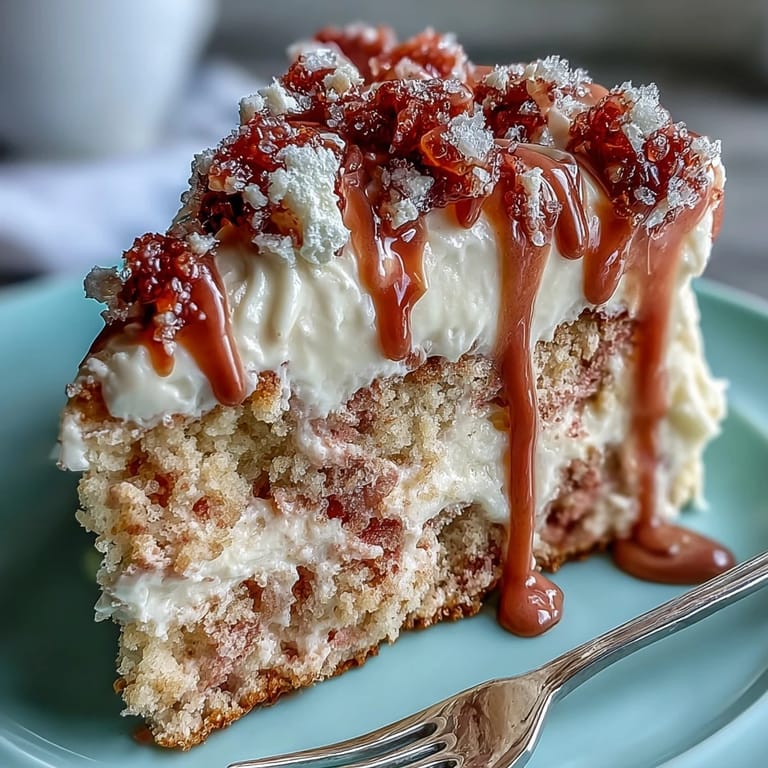
I once overloaded my first cake with too much luster dust and it looked a little more like glitter chaos than glamour. Now, a fine dry brush and patience—letting the drips set before painting—make the effect dazzling but elegant. Don’t forget: less really is more with edible gold and it’ll catch the light beautifully when you slice.
Serving and Celebration Shortcuts
Whenever time feels crunched, I bake the layers the night before, wrap them in plastic, and keep them cool; assembly is so much less stressful this way, especially if there are distractions like confetti or kids underfoot. As for finishing touches, even the simplest edible flowers or a mix of fresh berries will transform the cake into a show-stopper.
- If you’re short a third pan, bake in two then slice layers in half for a taller result.
- Store any leftovers tightly covered in the fridge for up to three days.
- Chill your knife before making those all-important first cuts for extra clean slices.
 Save
Save The biggest joy of this cake is sharing—every slice feels like a little celebration, whether you’re gathered for a bridal shower or just want to make an ordinary day sparkle. Here’s to blushing cheeks, gold brushstrokes, and sweet moments baked into every crumb.
Recipe FAQs
- → What type of rosé works best?
Choose a light, fruity rosé with floral notes to enhance the cake's delicate flavor; avoid heavily tannic or oaky bottles that can dominate the batter.
- → How do I ensure tender crumb?
Use buttermilk and don't overmix the batter once dry ingredients are added. Measure flour by weight and fold gently to keep the texture light.
- → How to make a stable gold drip?
Heat white chocolate with cream into a smooth ganache, cool slightly so it thickens but still pours. Apply chilled cake for controlled drips, then brush on edible gold luster mixed with a clear spirit or extract once set.
- → Can I skip alcohol without losing flavor?
Yes. Substitute rosé with high-quality pink grape juice or sparkling cider and add a splash of lemon for brightness to mimic the wine's acidity.
- → How to get an even pink hue?
Add a few drops of gel food coloring gradually until you reach your desired blush; gel gives vibrant color without thinning the batter. For a subtler tint, rely on rosé and omit coloring.
- → Best storage and serving tips?
Store chilled, covered, to protect the frosting and gold finish. Bring slices to room temperature before serving for the best texture and flavor.