 Save
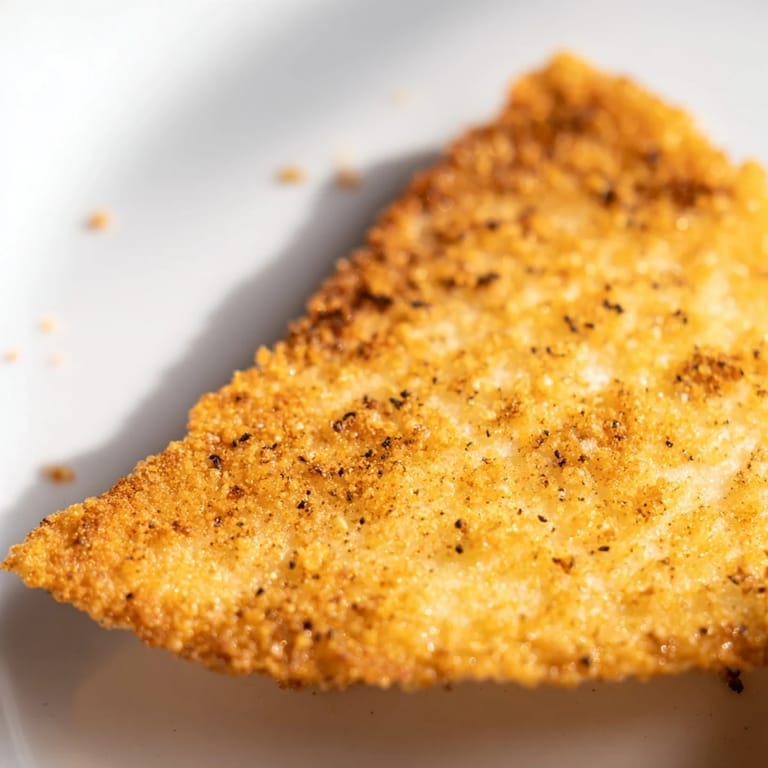
Save I was halfway through a bag of store-bought chips when I glanced at the nutrition label and winced. That's when I spotted the tub of cottage cheese in my fridge and thought, why not? It sounded bizarre at first, blending cheese into crispy coins, but desperation and curiosity make a good team. The first batch came out uneven and a little soft, but the second try? Golden, crunchy, and weirdly addictive.
I brought these to a game night once, stacked in a bowl next to the usual suspects. My friend Mike grabbed a handful without asking what they were and paused mid-chew, equal parts confused and impressed. When I told him they were basically just cottage cheese, he went back for more anyway. That's when I knew I had something worth keeping in rotation.
Ingredients
- Cottage cheese (2 cups, 450 g): This is your base, your canvas, your everything. Full fat gives richer flavor and crisps beautifully, but low fat works if you want to keep it lighter.
- Garlic powder (1/2 teaspoon): Adds that savory backbone without overpowering the delicate dairy flavor.
- Onion powder (1/2 teaspoon): Balances the garlic and brings a subtle sweetness that deepens as it bakes.
- Smoked paprika (1/2 teaspoon): This is the secret weapon, it gives a campfire edge that makes people ask what's in these.
- Black pepper (1/4 teaspoon): Just enough bite to wake up your taste buds without making things spicy.
- Sea salt (1/2 teaspoon): Essential for that snack-worthy punch, and it helps draw out moisture during baking.
- Parmesan cheese (1 tablespoon, optional): Boosts the umami and adds a nutty richness that clings to each chip.
- Dried herbs (1 teaspoon, optional): Oregano, thyme, or rosemary bring an herby freshness that pairs beautifully with the smokiness.
Tired of Takeout? 🥡
Get 10 meals you can make faster than delivery arrives. Seriously.
One email. No spam. Unsubscribe anytime.
Instructions
- Prep Your Oven and Pan:
- Preheat your oven to 350°F (175°C) and line a large baking sheet with parchment paper or a silicone mat. This keeps the chips from sticking and makes cleanup a breeze.
- Drain the Cottage Cheese:
- Place the cottage cheese in a fine mesh sieve or wrap it in cheesecloth, then press gently to squeeze out excess liquid. The drier your cheese, the crispier your chips will be.
- Blend the Mixture:
- Transfer the drained cheese to a food processor and add garlic powder, onion powder, smoked paprika, black pepper, and sea salt. Toss in Parmesan and herbs if using, then pulse until mostly smooth but still slightly textured.
- Shape the Chips:
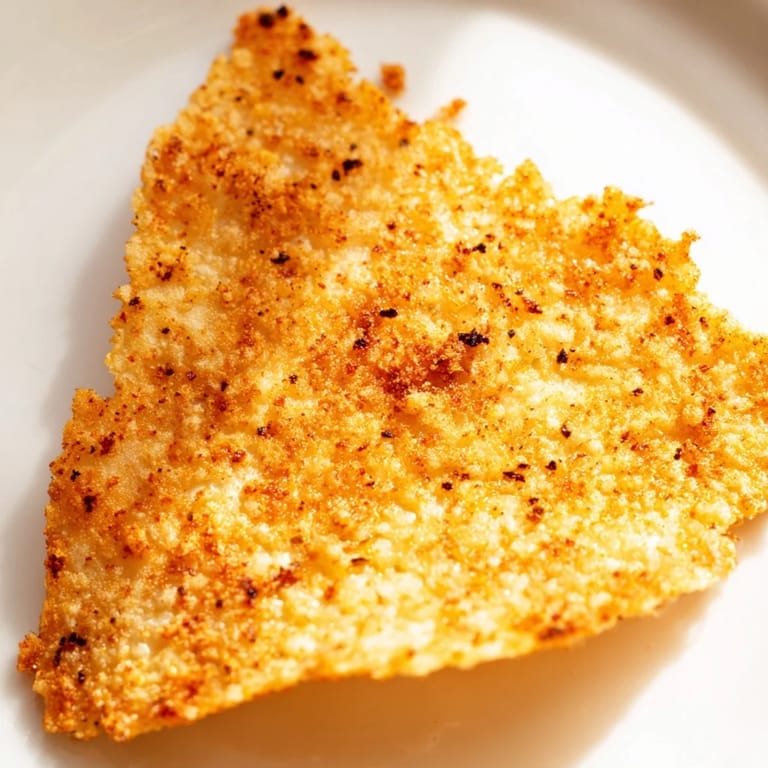
- Scoop heaping teaspoons of the mixture onto your prepared baking sheet, spacing them about 1 inch apart. Use the back of a spoon or your fingers to flatten each dollop into a thin round, about 2 inches wide.
- Bake Until Golden:
- Slide the sheet into the oven and bake for 25 to 30 minutes, watching for golden brown edges and a firm, crisp surface. The centers may look slightly soft, but they'll firm up as they cool.
- Cool and Crisp:
- Let the chips cool completely on the baking sheet. They'll continue crisping as they sit, transforming from tender to snackable in just a few minutes.
 Save
Save There's something oddly meditative about dotting spoonfuls of cheese onto a baking sheet, flattening each one just so. It became my Sunday ritual for a while, a small batch to snack on through the week. My kitchen would fill with that warm, toasty smell, and I'd stand by the oven watching them transform, feeling like I'd cracked some kind of snack code.
Flavor Variations to Try
Once you nail the basic version, the world opens up. I've stirred in everything from chili powder and cumin for a Tex-Mex vibe to nutritional yeast and dill for something almost ranch-like. A tiny pinch of cayenne wakes things up if you like heat, and swapping the smoked paprika for regular keeps it mild and kid-friendly. Don't be afraid to raid your spice drawer and experiment.
Storing and Re-Crisping
These are definitely best the day you make them, but life happens and leftovers are real. I keep mine in an airtight container at room temperature for up to two days, though they do soften a bit. A quick five-minute stint in a 300°F oven brings back most of that crunch, and honestly, they're still pretty good even if they're not perfectly crispy. Just don't expect them to last long once people discover what they are.
Serving Suggestions
I love these on their own, but they're also fantastic with dips. Guacamole, salsa, or even a tangy Greek yogurt dip all work beautifully. They're sturdy enough to scoop but delicate enough to feel special, which makes them great for parties or solo snacking on the couch.
- Pair them with a chilled beer or sparkling water with lime for a light, refreshing combo.
- Crumble a few over a salad for a crunchy, protein-rich topping that beats croutons any day.
- Pack them in a small container for work or road trips, they travel surprisingly well if you keep them dry.
 Save
Save Now you've got a snack that feels indulgent but fuels you like a meal. Keep a batch around and watch how fast they disappear.
Recipe FAQs
- → Why do you need to drain the cottage cheese?
Draining removes excess moisture, which is essential for achieving a crispy texture. Without this step, the chips will remain soft and won't develop the desired crunch during baking.
- → Can you use low-fat cottage cheese?
Yes, both full-fat and low-fat cottage cheese work well. Full-fat varieties tend to be richer and may yield slightly crispier chips, but either option produces good results.
- → How do you store leftover chips?
Keep chips in an airtight container at room temperature for up to 3-4 days. If they soften, re-crisp them in a 300°F oven for 3-5 minutes before serving.
- → What seasonings work best?
Garlic, onion, paprika, and sea salt form a classic base. Customize with dried herbs like oregano or thyme, or try cayenne for heat and chili powder for smokiness.
- → How thin should chips be flattened?
Flatten each dollop to about 2 inches wide and roughly 1/8-inch thick. Thinner chips crisp faster and more evenly; adjust baking time if making thicker versions.