 Save
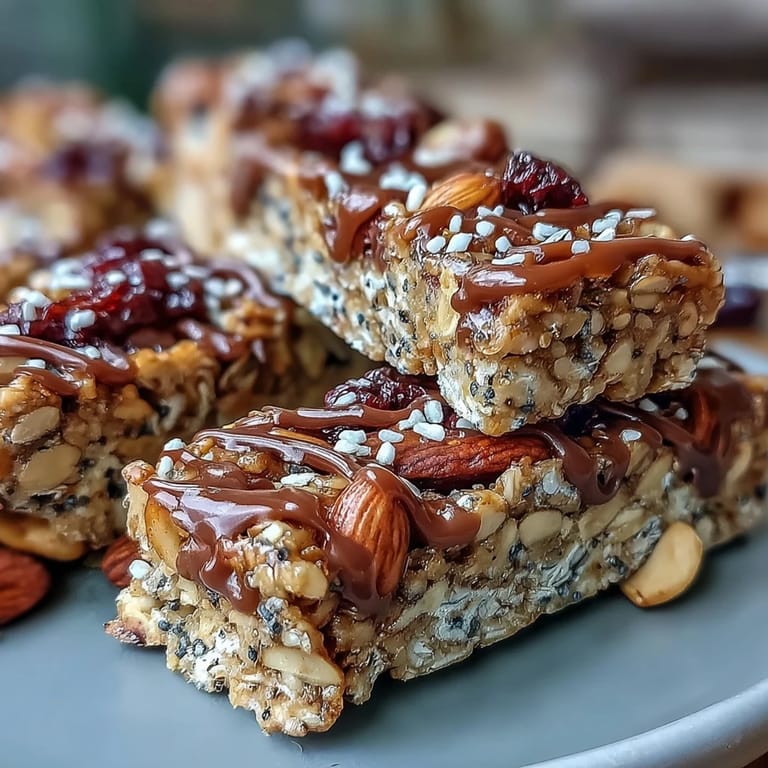
Save Last summer, I was frantically packing for a hiking trip when my friend texted asking what snacks I was bringing. I had nothing ready, and the grocery store was closing soon. That's when I remembered seeing a no-bake granola bar recipe tucked away in my notes—something I'd clipped months earlier but never tried. Thirty minutes later, my kitchen smelled like toasted oats and honey, and I had twelve golden bars chilling in the fridge. They turned out so good that I've made them constantly ever since, always tweaking the mix based on whatever's in my pantry.
My neighbor Sarah stopped by one afternoon while these bars were setting, and the smell of honey and peanut butter wafting from my kitchen pulled her inside like a spell. She grabbed one the moment they were cut, and then asked for the recipe because apparently it was "the answer to every 'what do I pack for snacks' problem I've ever had." Now she makes them for her kids' school lunches, and somehow that small moment turned into this being the recipe people actually ask me for.
Ingredients
- Old-fashioned rolled oats (2 cups): The backbone of these bars—they provide heartiness and that satisfying chew. Don't use instant oats, which will make things mushy and sad.
- Crisp rice cereal (1 cup): This adds crunch and keeps the bars from being too dense, plus it's a sneaky way to lighten the texture without sacrificing substance.
- Mixed nuts (1/2 cup, chopped): I rotate between almonds, walnuts, and pecans depending on what I'm feeling, and they all work beautifully for different reasons.
- Dried fruit (1/2 cup): Cranberries bring tartness, raisins add chewiness, apricots give brightness—pick what speaks to you or mix them all together.
- Unsweetened shredded coconut (1/4 cup, optional): This adds a subtle tropical note and a hint of texture; leave it out if coconut isn't your thing.
- Salt (1/4 teaspoon): A tiny pinch that makes everything taste more like itself, especially important when sweetness is the main player.
- Honey or maple syrup (1/2 cup): The binding magic—honey creates a more neutral sweetness, while maple syrup brings earthiness; either works perfectly.
- Peanut butter or almond butter (1/3 cup, creamy): This holds everything together and adds richness that makes people think you spent way more effort than you did.
- Vanilla extract (1 teaspoon): A small but mighty ingredient that rounds out the flavor profile and prevents everything from tasting one-note.
- Mini chocolate chips (1/4 cup, optional): Add these for indulgence, and wait until the mixture cools slightly or they'll disappear into the mixture.
- Chia seeds or flaxseed meal (1 tablespoon, optional): A boost of nutrition that honestly no one notices but you, which makes it feel like a secret upgrade.
Tired of Takeout? 🥡
Get 10 meals you can make faster than delivery arrives. Seriously.
One email. No spam. Unsubscribe anytime.
Instructions
- Set up your workspace:
- Line your 8-inch square pan with parchment paper, leaving some overhang on the sides so you can lift the whole block out later. This sounds like an extra step, but trust me—it's the difference between neat bars and a crumbly mess.
- Combine your dry mix:
- Toss the oats, rice cereal, nuts, dried fruit, coconut, and salt together in a large bowl until everything is distributed evenly. Get your hands in there if you need to—sometimes your fingers are the best mixing tool.
- Warm the wet ingredients:
- Put honey and nut butter in a small saucepan over low heat, stirring gently for 2–3 minutes until they're melted and smooth. The mixture should be warm enough to coat everything but not so hot it's bubbling aggressively.
- Marry wet and dry:
- Pour the warm honey mixture over your dry ingredients and stir until everything is coated and the mixture starts holding together slightly. This is where it starts looking like actual bars instead of random ingredients.
- Add chocolate if using:
- Let the mixture cool for 2–3 minutes before stirring in chocolate chips, or they'll melt into oblivion. You want little pockets of chocolate, not a melted swirl.
- Press into the pan:
- Transfer everything to your lined pan and press down firmly with a spatula or the back of a measuring cup until the surface is flat and compact. Don't be timid here—you want them dense enough to hold together when you cut them.
- Optional topping:
- Sprinkle extra chocolate chips or nuts on top and press them in gently so they stick around for the final bars.
- Chill thoroughly:
- Refrigerate for at least an hour until the bars are completely set and no longer sticky to the touch. Patience here prevents them from falling apart when you cut, so don't rush it.
- Cut and store:
- Use the parchment overhang to lift the whole block out, then cut into 12 bars with a sharp knife. Store in an airtight container in the refrigerator for up to a week, though they rarely last that long in my house.
 Save
Save There's something deeply satisfying about making a snack that tastes decadent but requires zero baking skills and almost no cleanup. I've brought these to potlucks, tucked them into backpacks before road trips, and pressed one into the hands of friends who needed an afternoon pick-me-up. They've become my go-to "I made this" moment, proof that good things don't always need to come from a hot oven.
Flavor Combinations Worth Trying
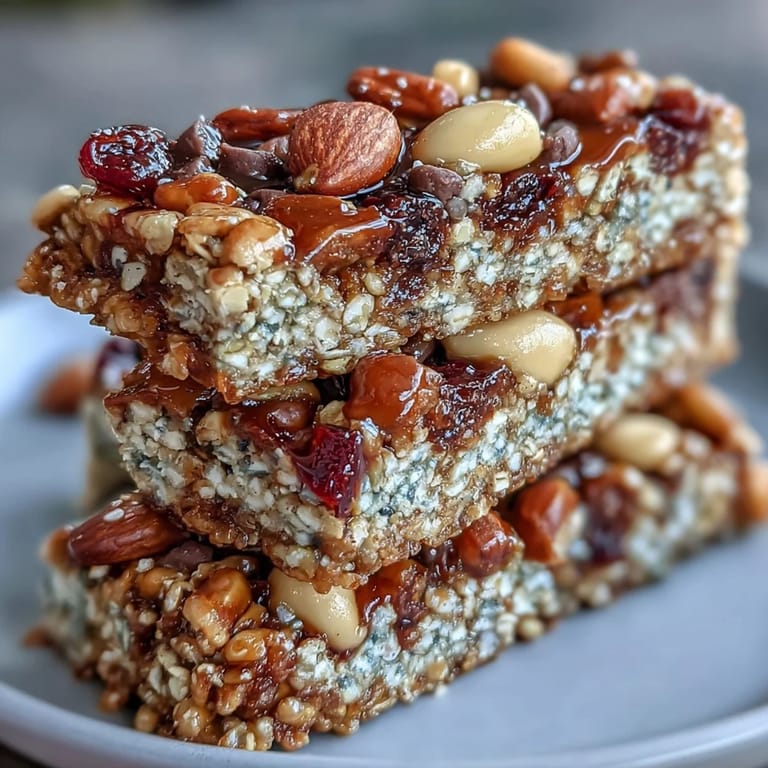
Once you make these once, you'll start seeing combinations everywhere. I've done cranberry and walnut with a hint of orange zest, peanut butter and chocolate with sea salt on top, and a tropical version with coconut, macadamia nuts, and dried mango. The formula stays the same, but the personality changes completely depending on what you're craving. Think of the base recipe as your canvas and everything else as paint.
Making Them Truly Your Own
The beauty of no-bake bars is that they're forgiving enough to handle substitutions without falling apart. Swap sunflower seed butter for peanut butter if you have allergies, use maple syrup instead of honey if that's what you prefer, or skip the coconut entirely if it's not your thing. I've also stirred in cinnamon and cardamom before pressing them into the pan, which made my entire kitchen smell like a spice market in the best way.
Storing and Gifting Tips
These bars keep beautifully in the refrigerator, making them perfect for meal prep or having something grab-and-go ready for unexpected adventures. I've given them as gifts wrapped in parchment paper and tied with twine, and people genuinely appreciated them more than store-bought treats. They're sturdy enough to travel, fancy enough to feel intentional, and casual enough to not feel like a big production.
- Keep them in an airtight container with parchment between layers so they don't stick together.
- If you're gifting them, let people know they're best enjoyed straight from the fridge rather than at room temperature.
- Frozen bars are technically fine but the texture shifts, so stick with refrigeration unless you're storing for longer than a week.
 Save
Save These bars have become my answer to "what can I bring" and "what's a good snack for tomorrow," which honestly might be the highest compliment a recipe can receive. Once you make them, you'll understand why they've earned a permanent spot in my kitchen rotation.
Recipe FAQs
- → Can I substitute the nut butter?
Yes, sunflower seed butter works well as a nut-free alternative without compromising texture.
- → How do I store these bars for freshness?
Keep bars refrigerated in an airtight container to maintain firmness and flavor for up to one week.
- → Are there ways to vary the flavor?
Add spices like cinnamon or cardamom to the mix for an aromatic twist and richer taste.
- → Can these bars be made vegan?
Use maple syrup and dairy-free chocolate chips to create a vegan-friendly version.
- → What texture should I expect?
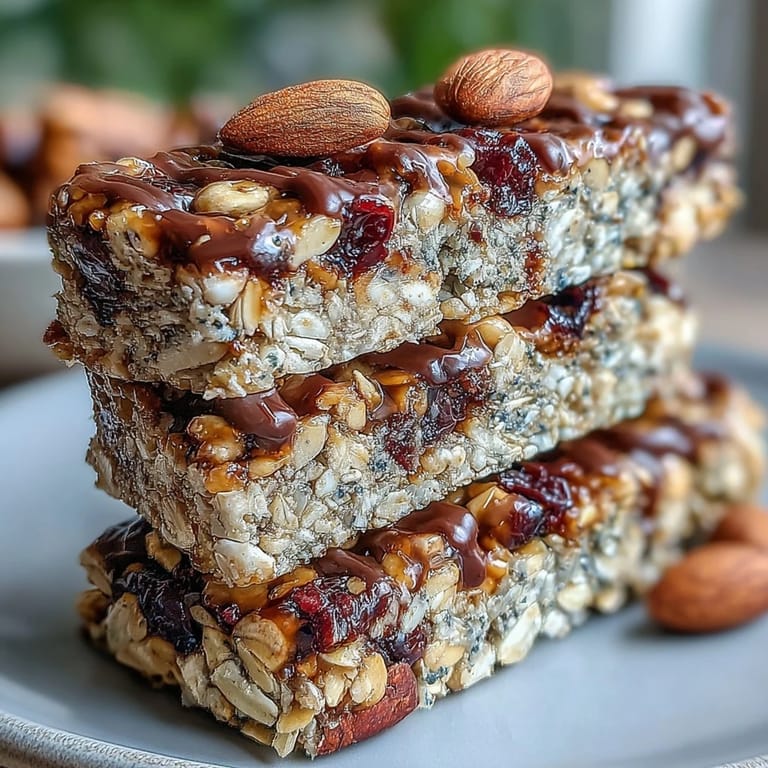
These bars are chewy yet firm, balancing crunchy nuts and dried fruit with a smooth honey and nut butter blend.