 Save
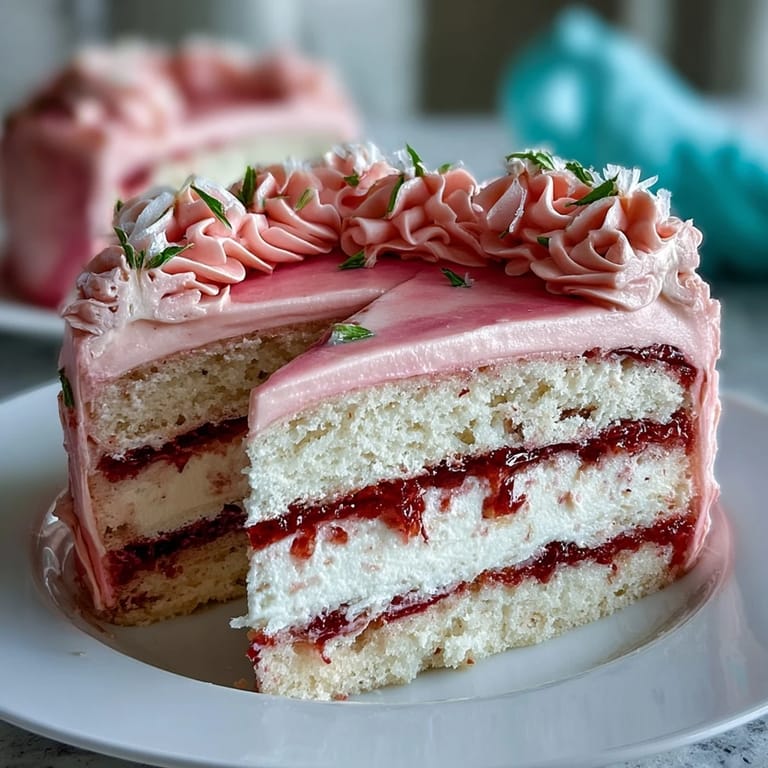
Save My sister called me in a panic three days before Mother's Day, asking if I could bake something special for Mom. The catch? She wanted it to look like something from a fancy bakery, not a homemade attempt. I hung up thinking about all the elaborate cakes I'd scrolled past online, then realized the most beautiful ones weren't complicated—they just needed confidence and patience. That's when I started playing with ombre buttercream, layering soft pinks like a sunset, and the whole thing clicked. This cake became my answer to her question, and honestly, it's been my go-to celebration cake ever since.
I'll never forget watching my mom's face when she saw this cake at her birthday brunch last spring. She thought my brother had ordered it from somewhere fancy, and the moment I said I'd made it, she got that look—the one that says you nailed it. We sat around the kitchen table with sparkling rosé, taking photos before cutting into it, and suddenly the cake became part of the memory instead of just dessert.
Ingredients
- All-purpose flour (2 ½ cups): Room temperature ingredients matter here, so sift your flour before measuring to avoid a dense crumb.
- Baking powder (2 ½ tsp): This is what gives you those light, tender layers—don't skip it or substitute.
- Salt (½ tsp): Sounds small but it wakes up all the vanilla flavors hiding in the background.
- Unsalted butter (1 cup plus 1 ½ cups for frosting): The softness of your butter directly impacts how fluffy everything becomes, so let it sit out for at least an hour.
- Granulated sugar (2 cups): Creaming this with butter until light and fluffy takes longer than you think—3 to 4 minutes on high speed is real time.
- Eggs (4 large): Room temperature eggs incorporate better and give you a smoother batter with fewer lumps.
- Pure vanilla extract (1 tbsp plus 2 tsp): The real stuff makes all the difference; vanilla is carrying this whole cake flavor-wise.
- Whole milk (1 cup): Room temperature milk prevents shocking the batter and keeps everything emulsified.
- Powdered sugar (5 cups, sifted): Sift it before measuring or you'll end up with grainy, lumpy frosting that drives you crazy.
- Pink gel food coloring: Gel won't thin your buttercream like liquid will, and you'll get richer, more vibrant pinks with less product.
- Edible flowers: Violets, pansies, and rose petals work beautifully; order them online if your grocery store doesn't stock them fresh.
Tired of Takeout? 🥡
Get 10 meals you can make faster than delivery arrives. Seriously.
One email. No spam. Unsubscribe anytime.
Instructions
- Get your workspace and mindset ready:
- Preheat that oven to 350°F and grab three 8-inch round pans. Grease them generously, then line the bottoms with parchment paper—this prevents the heartbreak of cakes sticking halfway through release.
- Mix your dry ingredients:
- Whisk flour, baking powder, and salt together in a medium bowl. This aerates the flour and distributes the leavening evenly, which sounds fussy but actually matters for an even rise.
- Cream butter and sugar into clouds:
- Beat them together for 3 to 4 minutes on high speed until the mixture looks pale, fluffy, and almost mousse-like. You're incorporating air here, which becomes lift in the oven.
- Add eggs one at a time, slowly:
- Drop each egg in and let the mixer fully incorporate it before the next one arrives. If you dump them all in at once, you'll get a broken, separated mixture that bakes poorly.
- Fold in flour and milk in three stages:
- Start with flour, then milk, then flour again, ending with flour. Mix only until combined—overmixing develops gluten and makes the cake tough, which is the enemy here.
- Divide and bake with patience:
- Split the batter evenly among pans and bake for 25 to 30 minutes until a toothpick comes out clean. Let them cool in the pans for 10 minutes so they firm up enough to handle, then turn them out onto racks to cool completely.
- Whip the frosting base:
- Beat softened butter on high for 2 to 3 minutes until it's creamy and pale. Gradually add sifted powdered sugar on low speed so it doesn't explode everywhere, then add vanilla and milk and beat on high for 3 minutes until it's fluffy and light.
- Create your pink ombre palette:
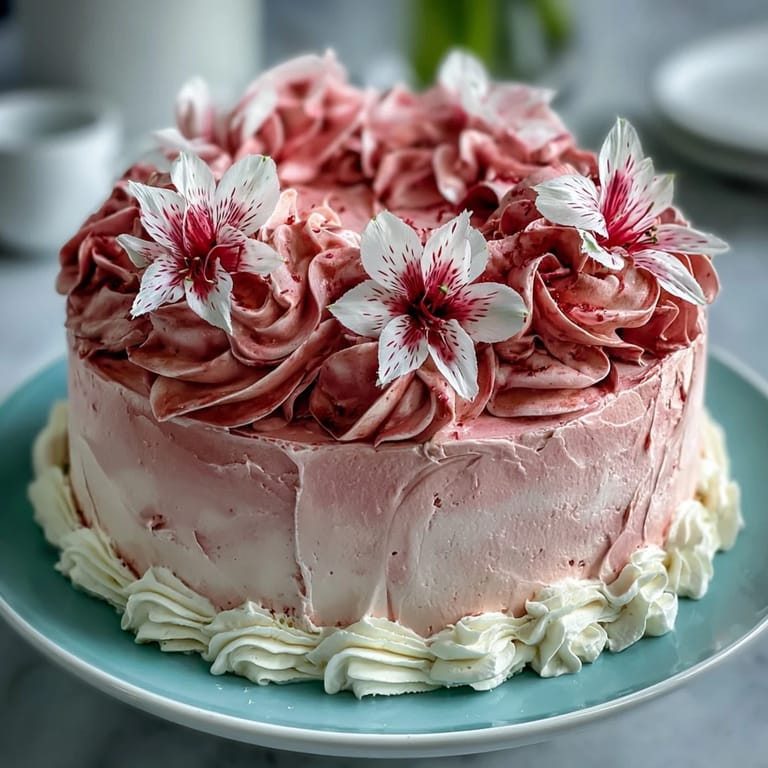
- Divide the frosting into four bowls. Leave one white, then add increasing amounts of pink gel coloring to the others—think whisper pink, medium pink, and bold pink. The gradation is what makes this cake look intentional.
- Layer and frost with intention:
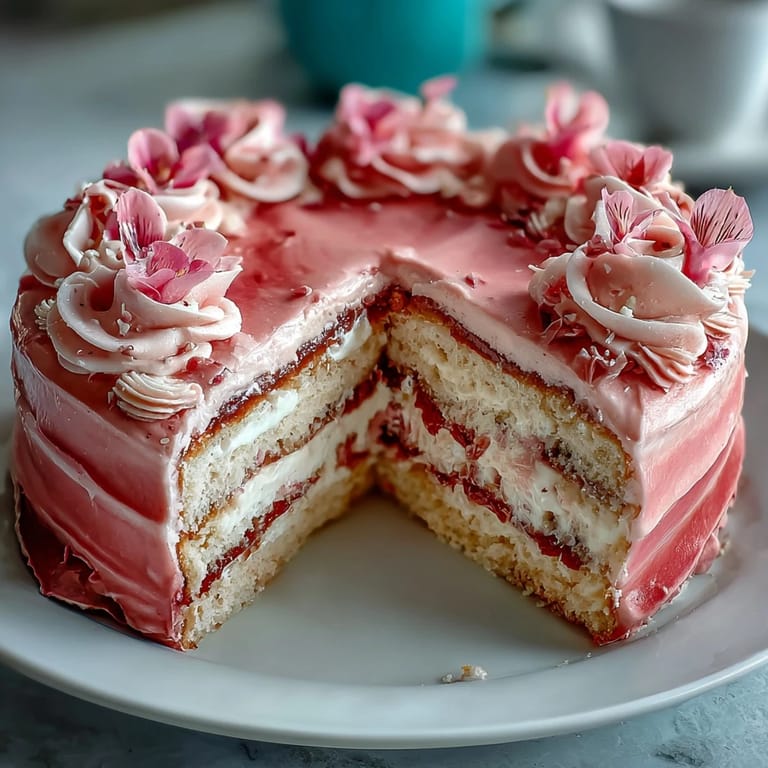
- Place the first cake layer on your serving plate and spread the darkest pink on top. Add the second layer with medium pink, then the top layer with light pink, and cover the entire outside with white frosting. Use an offset spatula to smooth it all out, and if you're feeling fancy, a bench scraper can blend the ombre effect up the sides for a seamless gradient.
- Decorate and chill for clean slices:
- Arrange your edible flowers on top in whatever pattern feels right to you. Pop the whole thing in the fridge for 30 minutes so the frosting firms up—this makes cutting so much cleaner and prevents the layers from sliding around.
 Save
Save There was this moment while assembling the layers where I realized I was creating something that went beyond just feeding people. The pale pink frosting against the white, the way the light caught the flowers on top—it felt like edible art. My mom still keeps the photo from that day on her fridge, and every time I make this cake, someone asks for the recipe.
Why This Cake Works for Celebration Moments
Celebrations deserve food that looks as good as it tastes, and this cake delivers on both fronts. The vanilla sponge is tender enough that people actually want seconds, not because they feel obligated. The buttercream tastes like real butter and vanilla, not like frosting from a can, and that matters when you're putting in the effort.
Building the Ombre Effect That Actually Looks Professional
The ombre thing doesn't require special tools or decorating skills—it's just three batches of buttercream with progressively more color, layered intentionally. The white frosting covering the outside is your safety net; if the gradient isn't perfect underneath, no one knows. I learned this trick by accident when my first attempt was too aggressive, so I covered the sides in white, and suddenly it looked intentional instead of sloppy.
Timing and Make-Ahead Strategy
This is one of those cakes that actually benefits from being made a day or two ahead. The sponge layers stay moist longer when wrapped well, and the buttercream actually tastes richer after sitting in the fridge overnight. You can even frost the cake the morning of your celebration and just add the flowers an hour or two before people arrive.
- Bake the cake layers up to two days ahead and store them wrapped tightly at room temperature or in the fridge.
- Make the buttercream up to three days ahead and keep it refrigerated; bring it back to room temperature and re-whip it before using.
- Assemble and decorate no more than 8 hours before serving so the frosting stays fresh and the flowers don't wilt.
 Save
Save This cake has become my answer to almost every celebration, and it never feels like I'm phoning it in. When someone's worth making beautiful food for, this is the cake that says that without needing words.
Recipe FAQs
- → How is the pink ombre effect achieved?
The buttercream is divided into portions and tinted with increasing amounts of pink coloring, then layered from darkest to lightest to create the ombre gradient.
- → What kind of flowers can be used for decoration?
Edible flowers such as violets, pansies, and rose petals work beautifully and add natural elegance without overpowering flavors.
- → Can I prepare this cake in advance?
Yes, baking the sponge layers and making the buttercream ahead of time helps. Chill after decorating for cleaner slicing and freshness.
- → What is the texture of the vanilla sponge?
The sponge is tender and moist, providing a delicate base that complements the creamy buttercream layers perfectly.
- → Are there tips for making the buttercream smooth?
Beat butter until creamy before gradually adding powdered sugar. Mixing on high after adding milk and vanilla helps achieve a fluffy, smooth texture.