 Save
Save My cousin's graduation party was supposed to be elegant but low-stress, so when she asked me to bring dessert, I panicked for exactly thirty seconds before landing on the idea of a dessert board. No baking required, just arrangement and a little creativity. I'd seen them at fancy events and farmer's markets, but I'd never actually made one myself. Turns out, assembling a dessert board is less about following rules and more about trusting your eye and having fun with it. That afternoon, surrounded by colorful treats and fresh berries, I realized this wasn't just dessert—it was edible art that happened to taste incredible.
What I didn't expect was watching people's faces light up when they walked into the backyard and saw that board. My uncle actually gasped. The colors were so bright—deep chocolate browns, sunset reds from the strawberries, creamy whites from the meringues—that it felt less like dessert and more like an edible rainbow someone had organized just for them. That's when I understood: a dessert board isn't just food, it's a moment where everyone feels celebrated.
Ingredients
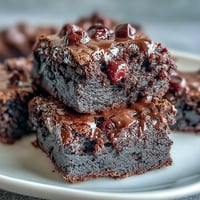
- Mini brownies (12): These are your chocolate anchor—buy them from a bakery or quality grocery store for that fudgy, fresh taste that feels homemade.
- Mini lemon bars (12): The brightness here cuts through all that richness and gives guests who want something lighter a perfect choice.
- Chocolate truffles (12): Go for quality here because people taste the difference, and they're small enough that guests won't feel guilty about grabbing two.
- Mini fruit tarts (4): These add sophistication and remind people that fruit counts as dessert.
- Small sheet cake, sliced into 12 pieces: Choose vanilla, chocolate, or funfetti based on your crowd—this is your base note and should make people happy.
- Fresh strawberries (1 cup, halved): The red ones fill gaps beautifully and add that fresh, bright contrast that makes everything taste better.
- Fresh blueberries (1 cup): Their small size is perfect for tucking into corners, and the blue color is visually striking against darker treats.
- Fresh raspberries (1 cup): Handle these gently; they're delicate but their jewel-like appearance is worth it.
- Seedless grapes (1 cup): These serve double duty as a sweet treat and a color-filler that no one will object to.
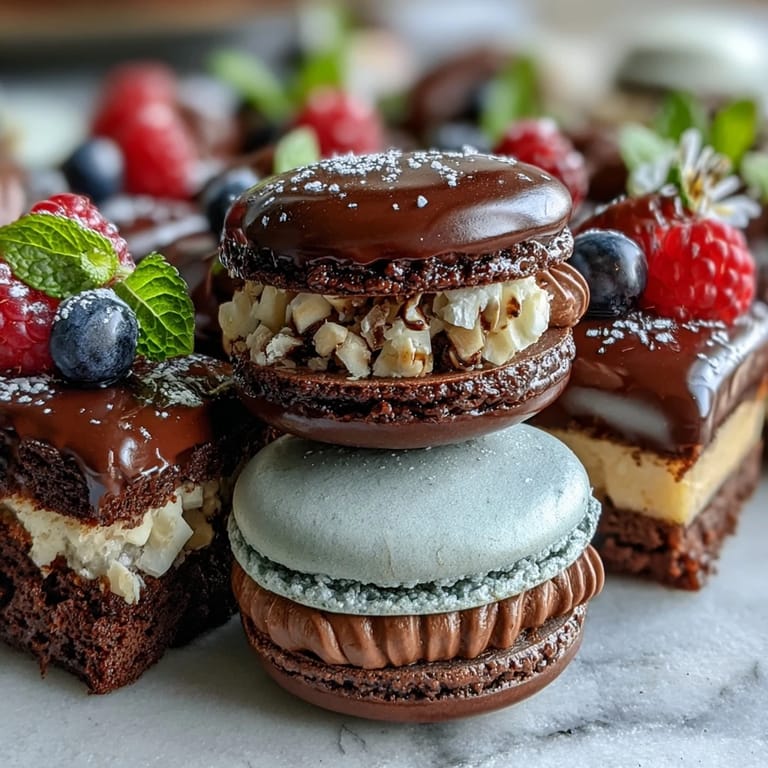
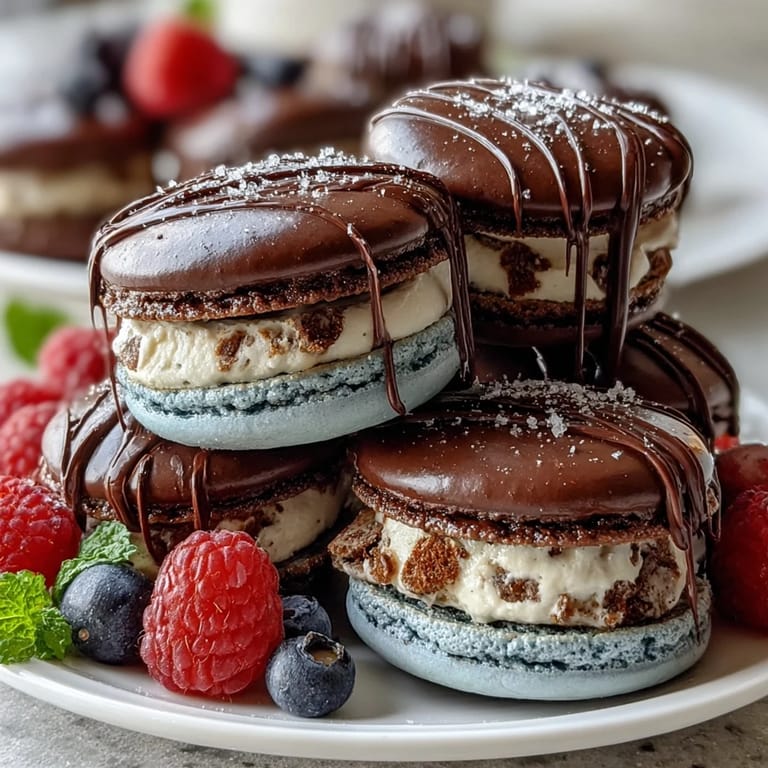
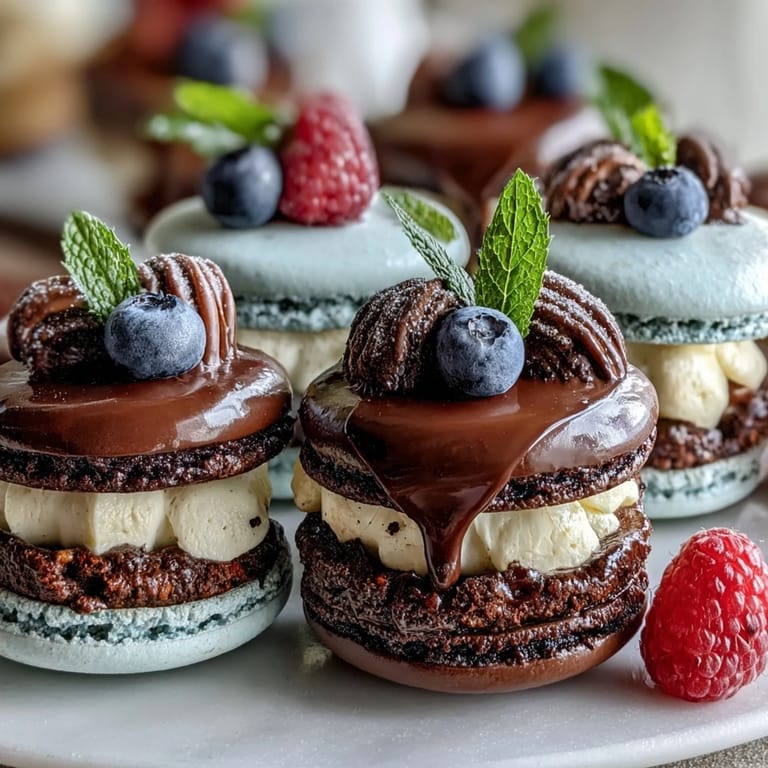
- Assorted macarons (1/2 cup): If you can find them in different colors, they become your visual anchors—let their hues guide your arrangement.
- Mini meringues (1/2 cup): Light, airy, and delicate-looking, these make the board feel fancy and give texture contrast.
- Chocolate-covered pretzels (1/2 cup): The salt-sweet combination is a party favorite, and they stay crisp longer than most treats.
- Edible flowers (optional): Pansies and violas are affordable at specialty grocers and transform your board from party food to wedding-level stunning.
- Fresh mint sprigs: A little greenery makes everything look fresh and garden-like, plus it smells incredible.
Tired of Takeout? 🥡
Get 10 meals you can make faster than delivery arrives. Seriously.
One email. No spam. Unsubscribe anytime.
Instructions
- Choose Your Canvas:
- Grab the largest wooden board or platter you own—this is your stage, and bigger is always better when you're aiming for visual impact. If you don't have wood, a large slate board or even a oversized white platter works beautifully.
- Slice and Position the Cake:
- Cut your cake into thin, elegant slices and arrange them in a semi-circle or gentle fan shape on one side of the board—this anchors your design and gives you a natural focal point. They should lean slightly toward the center, creating movement and visual flow.
- Cluster Your Mini Treats:
- Arrange brownies, lemon bars, truffles, and fruit tarts in small groups around the cake, thinking about color balance as you go. Alternate shapes and colors so no two similar items sit next to each other—this creates visual interest and makes guests want to explore.
- Fill the Gaps with Berries:
- Pile fresh strawberries, blueberries, and raspberries into the empty spaces, creating little islands of color that guide the eye across the board. Don't worry about perfection here; organic clusters look more inviting than precise rows.
- Scatter Your Finishing Touches:
- Distribute macarons, meringues, and chocolate-covered pretzels across the board in loose groupings, treating them like edible garnishes that add pops of color and texture. Step back and look for any dark spots that need brightness or empty spaces that need filling.
- Add the Greenery and Flowers:
- Tuck fresh mint sprigs around the board and scatter edible flowers in clusters or individually, depending on your vibe. This final step takes it from nice to "did you hire a caterer?"
- Chill or Serve:
- Cover loosely with plastic wrap and refrigerate until party time, then let it sit at room temperature for about 20 minutes before guests arrive so the chocolate stays silky and the cake isn't cold. Set out small serving tongs and spoons so people can help themselves without using their hands.
 Save
Save My favorite part happened when my cousin pulled me aside and said, "I'm showing everyone at work a photo of this—I want them to know this came from someone who actually cares." That's what a dessert board really is: edible proof that you showed up and put thought into making someone feel special. Every person at that party felt celebrated because there was something there specifically for them.
Arrangement Secrets That Actually Work
The magic isn't in fancy ingredients; it's in how you arrange them. Think about color wheels—opposite colors like chocolate and raspberries make each other pop. Vary heights by stacking some items slightly or nestling them into the board so it has dimension rather than looking flat. Group similar colors together in odd numbers (three brownies, three truffles) because the human eye finds that more satisfying than even groupings. Leave a few strategic empty spaces for the eye to rest, and always keep at least one corner open for last-minute adjustments.
Making It Your Own
Your dessert board should reflect your crowd and what you actually enjoy eating. If your friends hate fruit, swap berries for more chocolate treats or candy. If you're celebrating with people who have dietary restrictions, scout out gluten-free bakeries and dairy-free truffles ahead of time so everyone feels included. The skeleton of the board stays the same—treats, cake, texture variety, color—but the details should always be personal.
Drinks and Pairings That Elevate Everything
Pair your board with something that complements rather than competes. Sparkling lemonade feels fresh and celebratory, while good coffee balances rich chocolate treats beautifully. For a fancier crowd, a dessert wine or champagne makes people feel like they're at something special. Even a simple pitcher of iced tea feels elevated when it's sitting nearby, giving guests permission to enjoy multiple treats without it feeling excessive.
- Set out small plates and napkins near the board so people don't feel messy grabbing treats with their hands.
- If you're making this more than two hours before the party, cover it loosely with plastic wrap to keep it fresh and protect the treats from dust.
- Prep your garnishes (mint, flowers, even your treats) in separate containers the morning of so assembly takes exactly 15 minutes.
 Save
Save A dessert board is the easiest way to make people feel celebrated without spending your whole day in the kitchen. Set it out, watch people's faces light up, and know that you just created a memory.
Recipe FAQs
- → How should I arrange the dessert items on the board?
Place cake slices in a semi-circle and arrange mini treats in clusters around them, alternating colors and shapes to create visual appeal.
- → Can I prepare this board in advance?
Yes, you can assemble the board ahead and refrigerate it. Bring to room temperature 20 minutes before serving for best flavor.
- → What are good beverage pairings with this dessert spread?
Sparkling lemonade, coffee, or dessert wine complement the variety of flavors and textures nicely.
- → How can I make this board gluten-free?
Choose gluten-free cake and treats while keeping fresh fruits and garnishes as they are naturally gluten-free.
- → What tools are recommended for assembling the board?
A large wooden board or platter, a sharp knife for slicing the cake, and small serving tongs or spoons for easy serving.