 Save
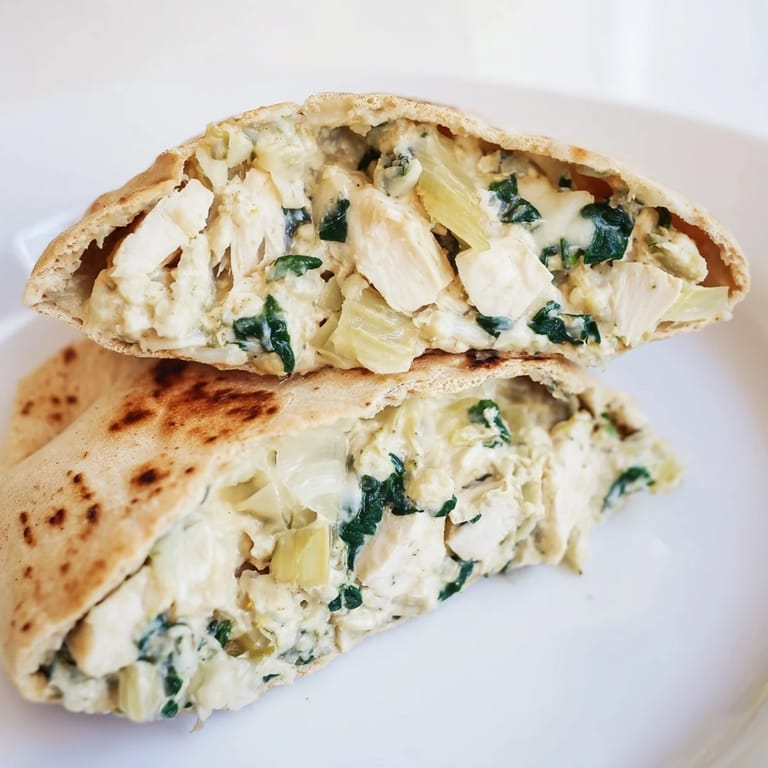
Save The first time I made these stuffed pitas, I was trying to use up leftover rotisserie chicken and a random assortment of ingredients from my fridge. My roommate walked in mid-prep, skeptically eyeing the Greek yogurt in the spinach artichoke mixture, but ended up eating two whole pitas straight from the baking sheet. Now they request them weekly.
I started bringing these to work after my microwave lunch disasters became legendary in the breakroom. Something about the pita bread protecting that cheesy, garlicky filling makes it reheat beautifully, and my coworkers actually started lingering around my desk on Tuesdays. The lemon wedges are non-negotiable now, they cut through the richness in a way I discovered completely by accident.
Ingredients
- Chicken breast, cooked: Rotisserie chicken works beautifully here, but any leftover cooked chicken breast or thigh meat does the job
- Artichoke hearts: Canned and drained is perfectly fine, just give them a rough chop so they distribute evenly throughout the filling
- Fresh spinach: Frozen spinach will make the filling too watery, so stick with fresh and chop it well
- Greek yogurt: Creates that tangy creaminess while keeping things lighter than traditional cream cheese bases
- Light mayonnaise: Balances the yogurt and helps bind everything together without overwhelming the dish
- Mozzarella and Parmesan: The mozzarella melts into gorgeous stretches while Parmesan brings that salty, nutty depth
- Garlic and onion powder: This duo creates that familiar spinach artichoke flavor profile everyone recognizes
- Dried oregano: Mediterranean herbs bridge the gap between the filling and the pita bread perfectly
- Pita breads: Whole wheat adds nuttiness and holds up better during baking, but regular works great too
Tired of Takeout? 🥡
Get 10 meals you can make faster than delivery arrives. Seriously.
One email. No spam. Unsubscribe anytime.
Instructions
- Preheat your oven:
- Get it to 375°F and line a baking sheet with parchment paper because cheese will inevitably escape
- Mix the filling:
- Combine everything except the pitas in a large bowl, mixing until the chicken is evenly coated and the spinach is distributed throughout
- Prep the pitas:
- Carefully slice each pita in half to create pockets, being gentle not to tear through the back
- Stuff generously:
- Fill each pita half as full as possible without splitting the seams, using a spoon to really pack the filling in
- Bake until bubbly:
- Arrange on your prepared baking sheet and bake for 15-20 minutes until hot throughout and the cheese is melting
 Save
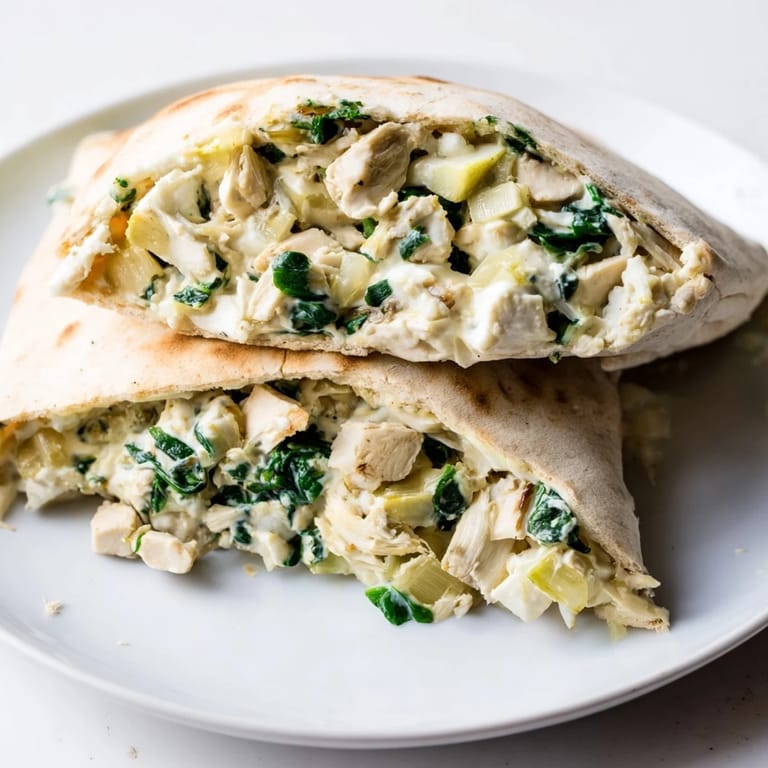
Save These became my go-to after discovering my husband would actually eat spinach if it was wrapped in melted cheese and bread. Now they are in regular rotation, and I have caught him eating them cold from the fridge more than once, which I think is the ultimate compliment.
Make Ahead Magic
The filling can be mixed up to two days in advance and stored in an airtight container in the refrigerator. I actually think the flavors meld better after sitting overnight, and stuffing fresh pitas right before baking takes about five minutes.
Customization Options
Sometimes I add sun-dried tomatoes or roasted red peppers when I want to shake things up. Fresh basil or dill can replace or complement the parsley garnish depending on your mood and what is wilting in your crisper drawer.
Serving Suggestions
A crisp green salad with an acidic vinaigrette balances the richness perfectly, or serve alongside roasted vegetables for a more substantial meal. The lemon wedges are not just for show.
- Squeeze fresh lemon over the top right before eating to brighten all the flavors
- These reheat surprisingly well in a toaster oven if you avoid the microwave
- Extra Parmesan sprinkled over the top during the last 2 minutes of baking creates a crispy cheese crust
 Save
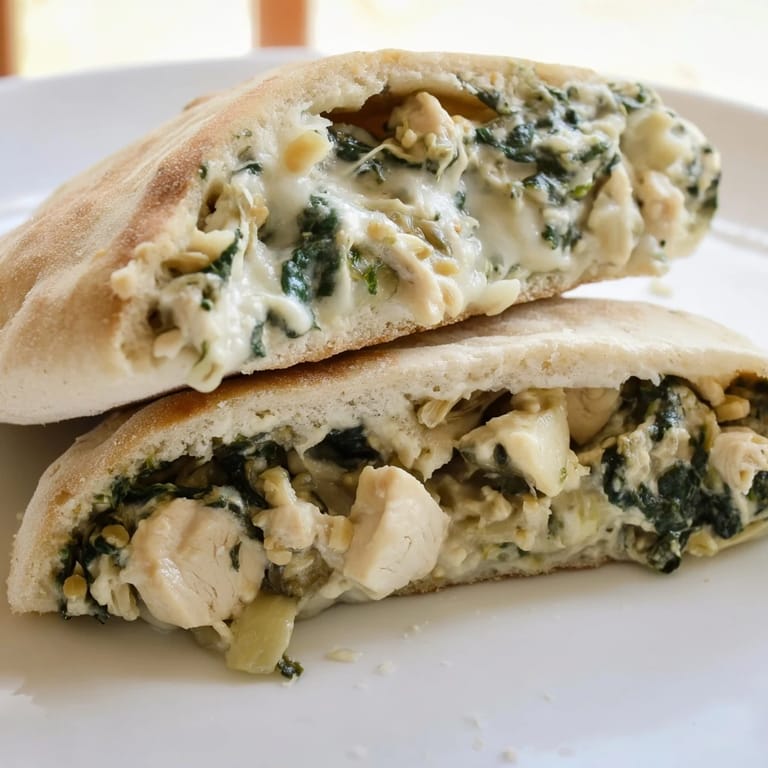
Save Hope these become a regular part of your lunch rotation like they have in mine.
Recipe FAQs
- → Can I prepare the filling ahead of time?
Yes, you can mix the filling up to 24 hours in advance. Store it in an airtight container in the refrigerator. Stuff the pitas just before baking for best results.
- → What type of chicken works best?
Rotisserie chicken provides excellent flavor and saves preparation time. Alternatively, use cooked chicken breasts that you've diced or shredded. Both approaches yield tender, flavorful results.
- → How do I prevent the pitas from becoming too soft?
Use pitas that are slightly thicker and sturdier. Avoid over-packing the pockets and ensure your baking sheet is properly lined with parchment paper for even heat distribution.
- → Can I modify the filling for dietary preferences?
Absolutely. Substitute Greek yogurt with cream cheese for richness, or add sun-dried tomatoes and roasted red peppers for extra flavor. You can also adjust the cheese ratio based on preference.
- → What side dishes pair well with this?
A crisp green salad with lemon vinaigrette complements the filling beautifully. Roasted vegetables like zucchini or bell peppers, or a light tzatziki sauce, also work well alongside.
- → How should I store leftovers?
Place cooled pitas in an airtight container in the refrigerator for up to 3 days. Reheat in the oven at 350°F for 10 minutes or microwave for 1-2 minutes until warmed through.